How to do manicure at home
Step by step to do manicure at home
Ready for perfect gel manis at home? We’ve put together our top tips to help you achieve a manicure that is très magnifique!
1. Prep the Nails!

Begin by pushing back your cuticles with the softer part of the Cuticle Pusher. File your nails to the desired shape, and then gently sand the entire surface of your nail with a Sanding Block. Gel needs a rough texture to grip onto, this allows the polish to adhere better and last longer.
2. Cleanse the oils of the nail!

Wipe away all dust & oils with our Nail Cleanser Pre Pads. This helps to dehydrate the nail. Be careful not to touch your face or hair after this or apply hand cream. Gel needs a dehydrated, clean surface for best, long-lasting results!
3. Super Thin Gel Layers!

The first coat needs to be ultra-thin, as gel is thicker than regular nail polish. To achieve this, shake the bottle to mix the formula and remove all excess gel from the brush by swiping it along the neck of the bottle. Your brush should be almost transparent. Apply a VERY thin layer of gel, covering the entire nail surface. You should still be able to see your nail.
4. Paint & Cure (One Nail at a Time)!

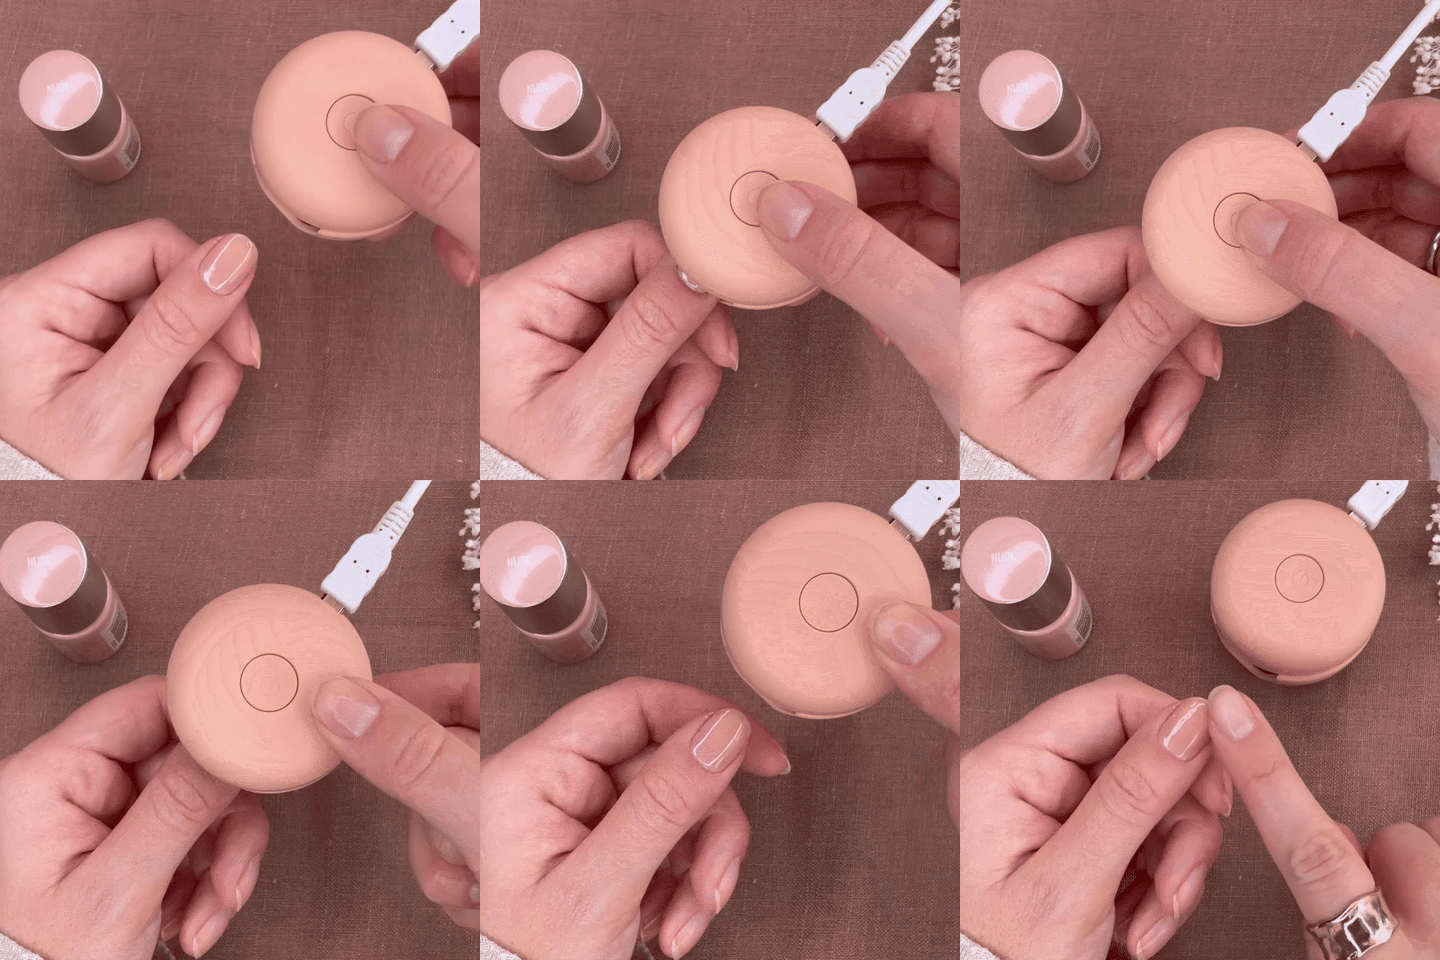
Paint each nail and cure immediately in the LED lamp, working one by one. Do not wait to paint all nails to cure them all at once. It’s important to minimize the time the gel is exposed to air because it will begin to retract (the gel recedes from the edge of the nail). Cure it as soon as you have finished painting.
Repeat this step until you get the desired color intensity. Most shades require just 2 coats but lighter shades may require 3 coats. Some of the lighter shades can require 3 layers for an opaque finish.
Expert Tip: If you want to get an even shinier finish and extend the mani for up to 3 weeks, apply one layer of our high shine Top Coat.
What products to use to do your nails at home?
- LED Lamp
- Gel Polish
- Nail File
- Sanding Block
- Le Clean Nail Cleanser, Dry Lint-Free Wipes or if you want an on-the-go version, we recommend our Nail Cleanser Prep Pads
- Top Coat for a longer and shinier finish
There's definitely a learning curve to applying gel polish at home, so don't be disappointed or lose confidence if your first few DIY gel manicures don't look fantastic or last weeks on end. Have no fear, you'll become a pro in no time with just a little patience and practice!
Would you like to exchange more tips and ideas with our community? Join Les Chéries, our exclusive Facebook group.


