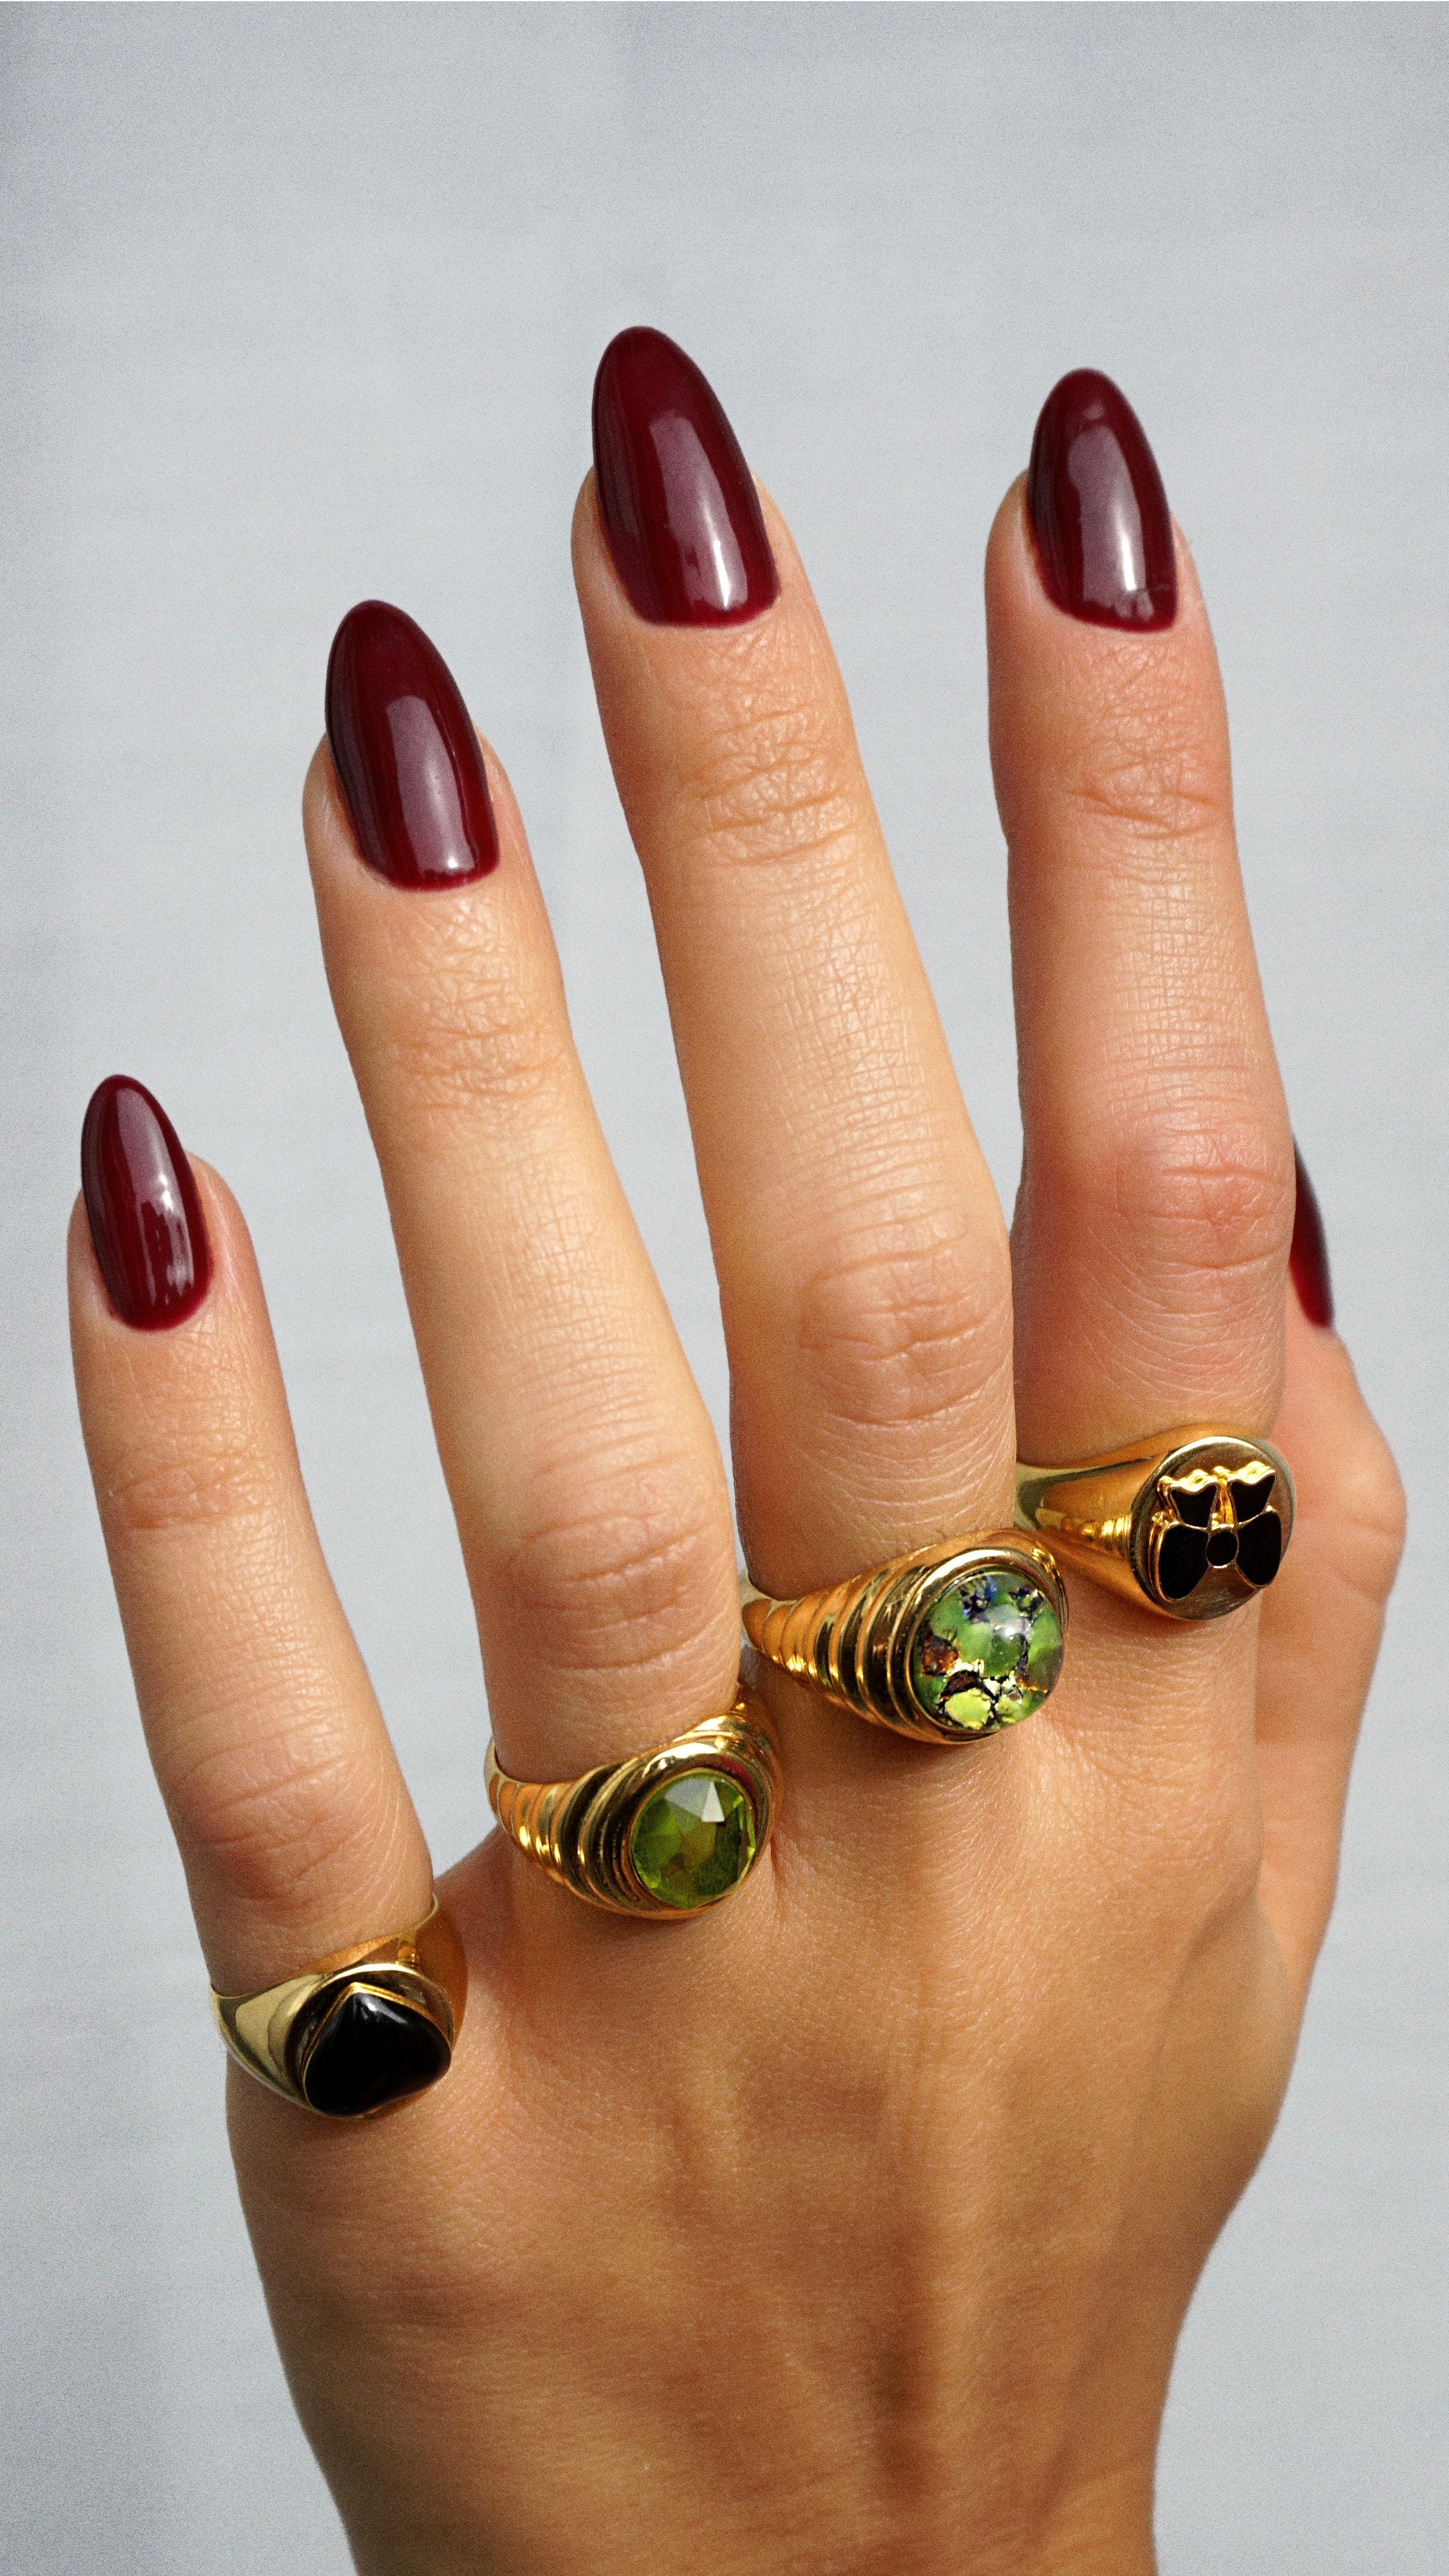
Mastering the Art of Builder Gel Application
In the ever-evolving world of nail art and nail extensions, builder gel has become a game-changer, offering a versatile and durable solution for achieving flawless nails. A nail enhancement product, builder gel is a thick, viscous gel that is applied to the natural nail to shield and protect your nails. It is not nail care, rather it helps to build and strengthen the nail to prevent breakage while leaving a durable, natural-looking finish. Forget the salon–Le Mini Macaron´s new Multi-Use Builder Gel makes it easy to get salon-quality nails at home.

Benefits of Using Builder Gel
Builder gel is known for its strength and durability. When applied to natural nails, it provides an added layer of support and protection, reducing the risk of breakage and splitting. The soft pink shade creates a natural-looking finish which can be worn alone or under LMM 1-step gel polish. Because of its adhesive properties, when paired with gel polish, it leads to longer-lasting manis.
The Difference Between Builder Gel and Acrylic Nails
The main difference between builder gel and acrylic nails lies in their composition and application. Builder gel is a gel-based product that is light-cured. It typically has a thicker consistency than regular gel polish and is used to build and strengthen nails. Acrylic nails are created by combining a liquid monomer with a powder polymer. This mixture creates a dough-like substance that can be molded and shaped on the nails. Acrylic nails harden through a chemical reaction, and no curing lamp is required.
The end result is also different. Builder gel tends to have a more flexible and natural look while acrylic nails often have a more rigid appearance and may look less natural compared to builder gel.
A Step-by-Step Guide to Perfect Nails with Builder Gel

Step 1: Prep Your Nails
Start by removing any existing polish and shaping your natural nails with a nail file. Gently push back your cuticles using a cuticle pusher. Buff the surface of the nail with a sanding block or sponge. Then use a lint-free wipe, or our Nail Prep Pads, to clean and dry the surface of your nails. This will help the builder gel adhere to your nail.

Step 2: Apply Builder Gel
Apply a very thin coat of builder gel and do NOT cure. Next, apply a thicker bead of gel to the center of the nail then use the brush to float the gel over the nail, all the way to the tip of the nail. Avoid applying too much gel to the sides of the nail. You will notice that the gel will self-level on its own as you glide it over the nail. Turn your finger upside down for 5 to 10 seconds to allow gravity to help pull the gel to the center to create an apex. Clean any excess gel from around the nail to make sure there is no gel left on the skin.

Step 3: Cure the Builder Gel
Flash-cure the gel for 5 to 10 seconds. To flash cure, remove the top of the LED lamp and hold it over the nail instead of inserting your finger in the lamp. After the initial flash-cure, replace the top of the lamp, insert your finger, and cure for 60 seconds.
Please be aware that a mild burning sensation might be experienced during the curing process of the builder gel. This is entirely normal and is attributed to the thickness of the builder gel polish. Doing a flash cure before the full cure will help alleviate the burning sensation.

Step 4: Polish
The builder gel is Meringue, a sheer, almost transparent pale pink, perfect to wear alone for a natural-looking finish. Simply wipe away the sticky layer with rubbing alcohol and voila! You are done.
If you want to paint your nails, do not remove the sticky finish as it will help the gel polish adhere better and create a longer-lasting finish. Use Le Mini Macaron 1-step gel polish to paint and cure your nails as directed.
Pro tip: You don´t have to remove the builder gel if you want to repaint your nails. Simply file off the existing gel polish and repaint your nails as directed.
How to Remove the Builder Gel
Remove the builder gel the same way you remove gel polish.
- If your nails are polished, use a nail file to gently file off most of the gel polish. Otherwise, use a nail file to remove the first layer of the builder gel.
- If using our Gel Polish Remover Wraps, tear open the remover pad and insert your finger, making sure that the cotton pad is on top of the nail. Otherwise, wrap an acetone-soaked cotton pad around your nail. The acetone from the cotton pad will soak into the gel.
- Wrap the packet around your finger, removing the sticker and sealing the packet to ensure an air-tight fit. To prevent air from entering, use our remover clips over the remover pads. Wait 15 minutes.
- After 15 minutes have passed, remove the clips and pads. The gel polish will now have a shattered effect. You can use a cuticle stick or our Gel Remover Tool to gently GLIDE off the remaining polish.
- Use our Cleansing Pads or our Le Clean cleanser to wipe off the remaining polish.
Congratulations! You've successfully navigated the art of builder gel application at home, unlocking a world of possibilities for stunning, durable nails. Experiment with different colors, shapes, and designs to express your creativity. With practice, you'll master the technique and achieve salon-quality results in the comfort of your own home.


