Coconut Yogurt Kit + Le Gel Tip + Nail Glue
Everything you need for salon-worthy gel nails at home, complete with our best-selling Coconut Yogurt mini kit, a translucent pink shade, Le Gel Tip, Nail Extension Glue, and Lamp Extension.
Coconut Yogurt: is a translucent, creamy pinkish-white and one of our best selling gel polish shades!
Choose options
Details
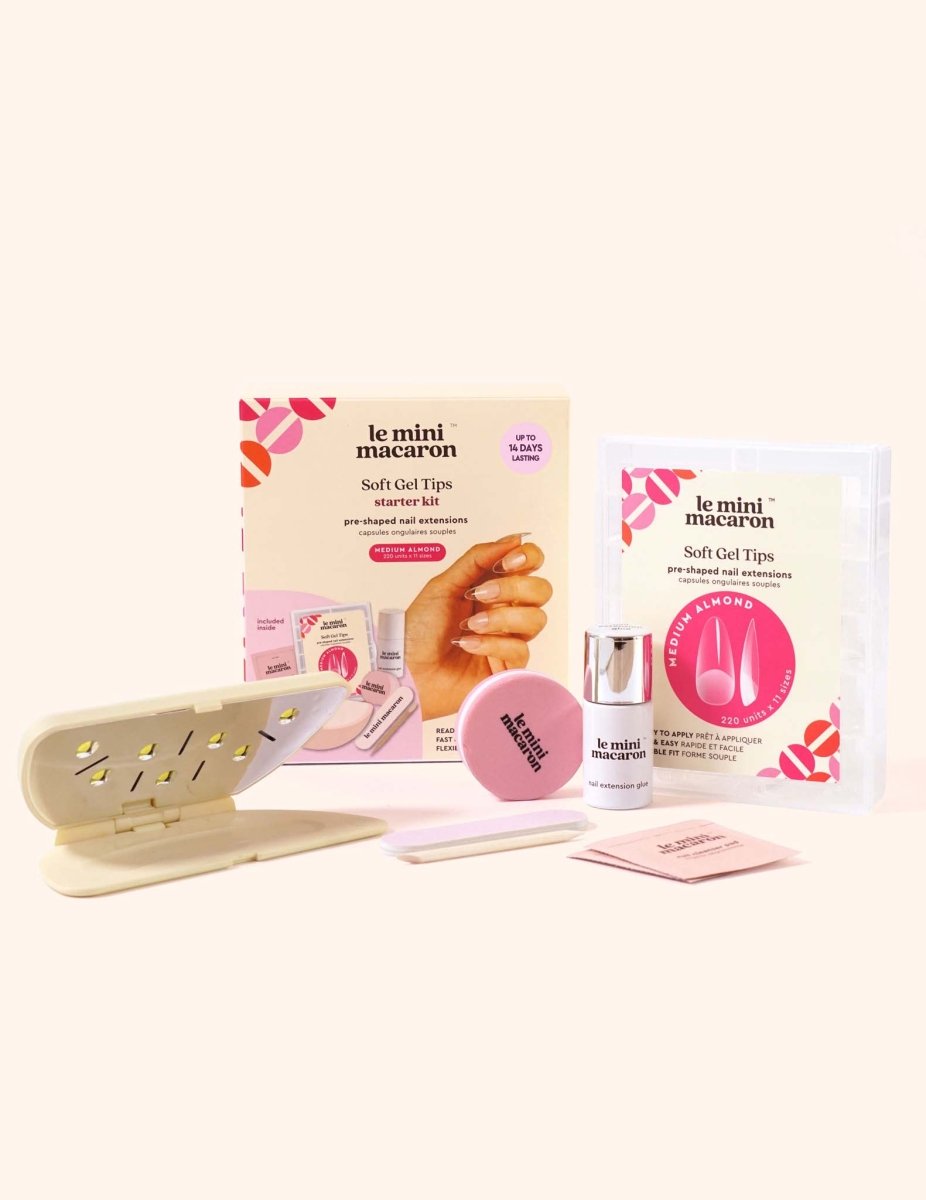
Each Bundle Includes:
- LED lamp with USB cord (lamp wattage: 3 watts) (22 g, 5 x 3.5 cm)
- One bottle of gel polish in a matching color (8.5 mL / 0.29 fl. oz.)
- Cuticle stick
- Mini nail file
- 10 Gel Polish Remover Wraps
- 600 tips in 12 different sizes
- Long-lasting nail extension glue
- Detailed instructions
Our LED Lamp:
Our patented design is fast and powerful, curing 1-step gel polish dry in under 1 minute.
Very convenient to use anywhere, the USB cord plugs straight into your laptop.
Do your pedicure too - just flip the magnetic top around!
Our 1-Step Gel Polish:
Get the brilliant shine and chip-free finish of a salon-quality gel manicure at a fraction of the price! Our 3-in-1 formula combines base coat, color, and top coat all in 1 bottle.
DIY at-home gel manicure, with our amazing formula, that dries in less than a minute with the LED lamp.
1-step gel polish lasts up to 2 weeks. For easy removal, buy our soak-off remover wraps. For more detailed instructions, visit our blog.
Vegan and Cruelty-Free. “9-Free”
Polish is formulated without: Formaldehyde, Formaldehyde Resin, TPHP, Acetone, Ethyl Tosylamide, Xylene, DBP, Toulene, and Camphor.
Le Gel Tip:
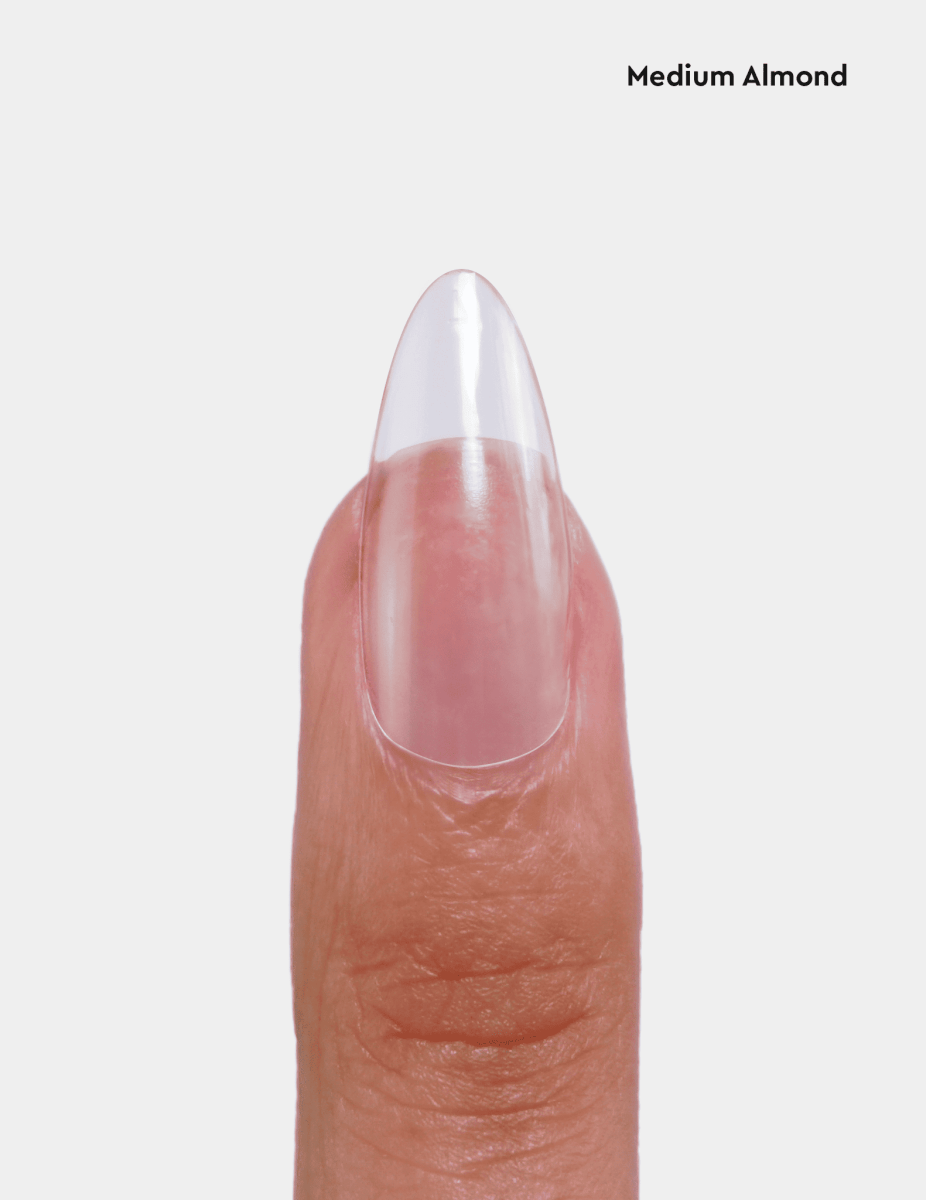
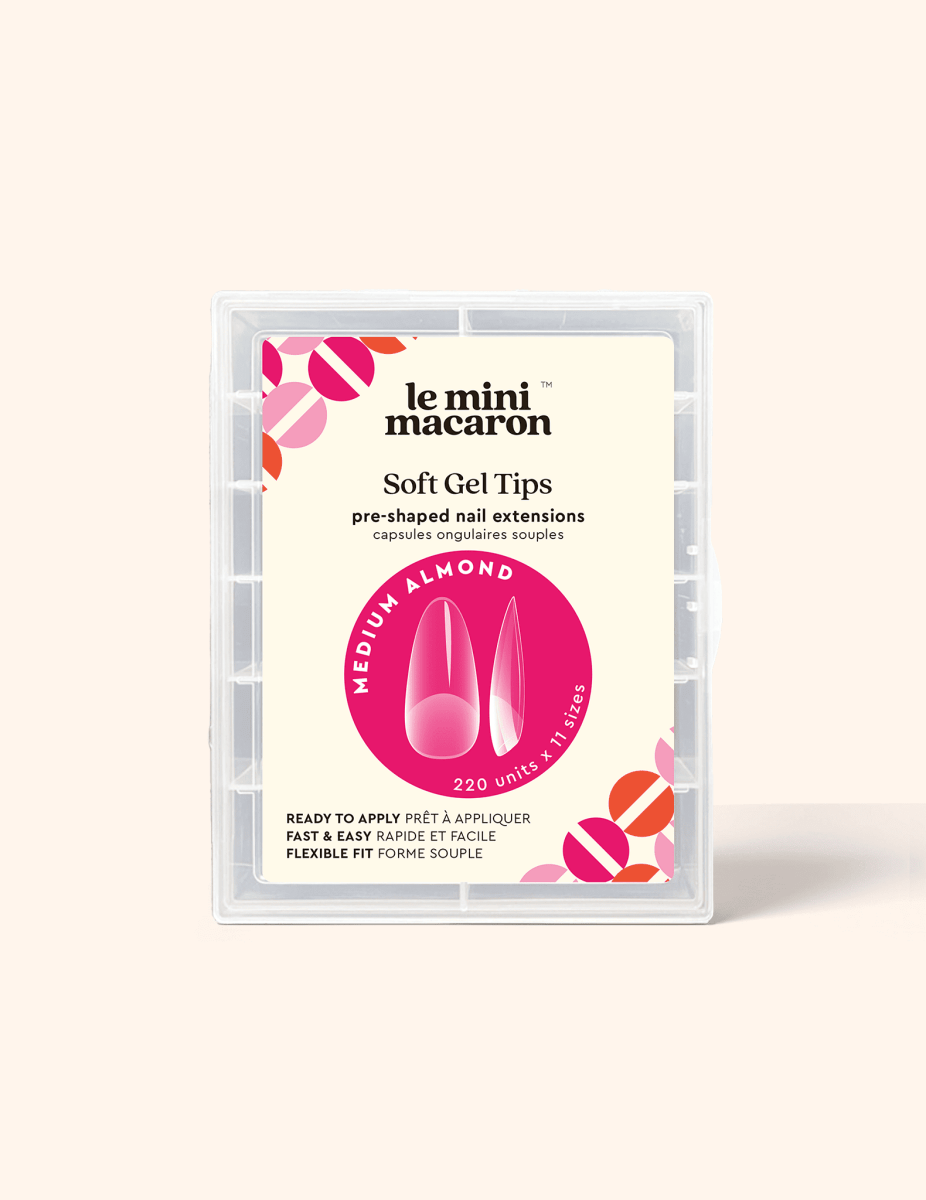
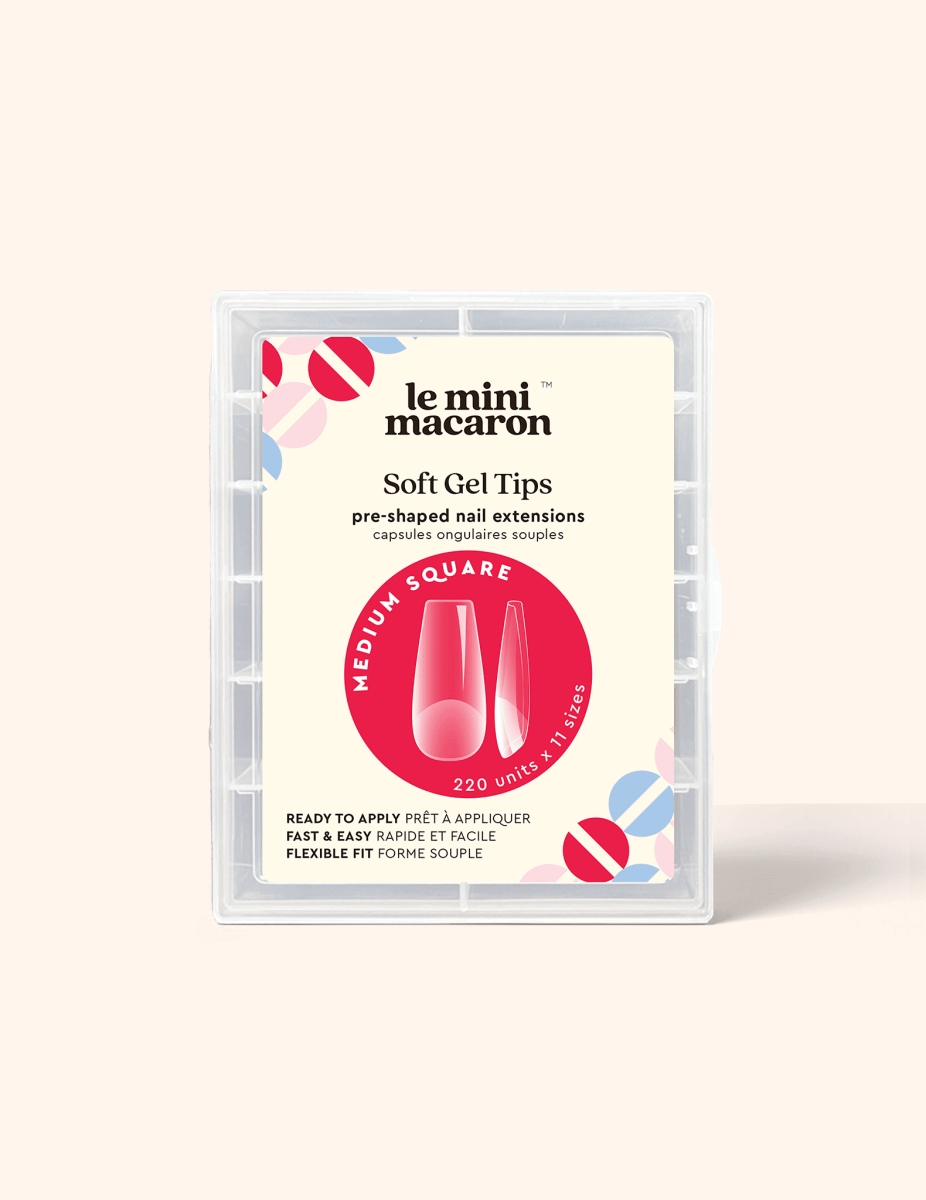
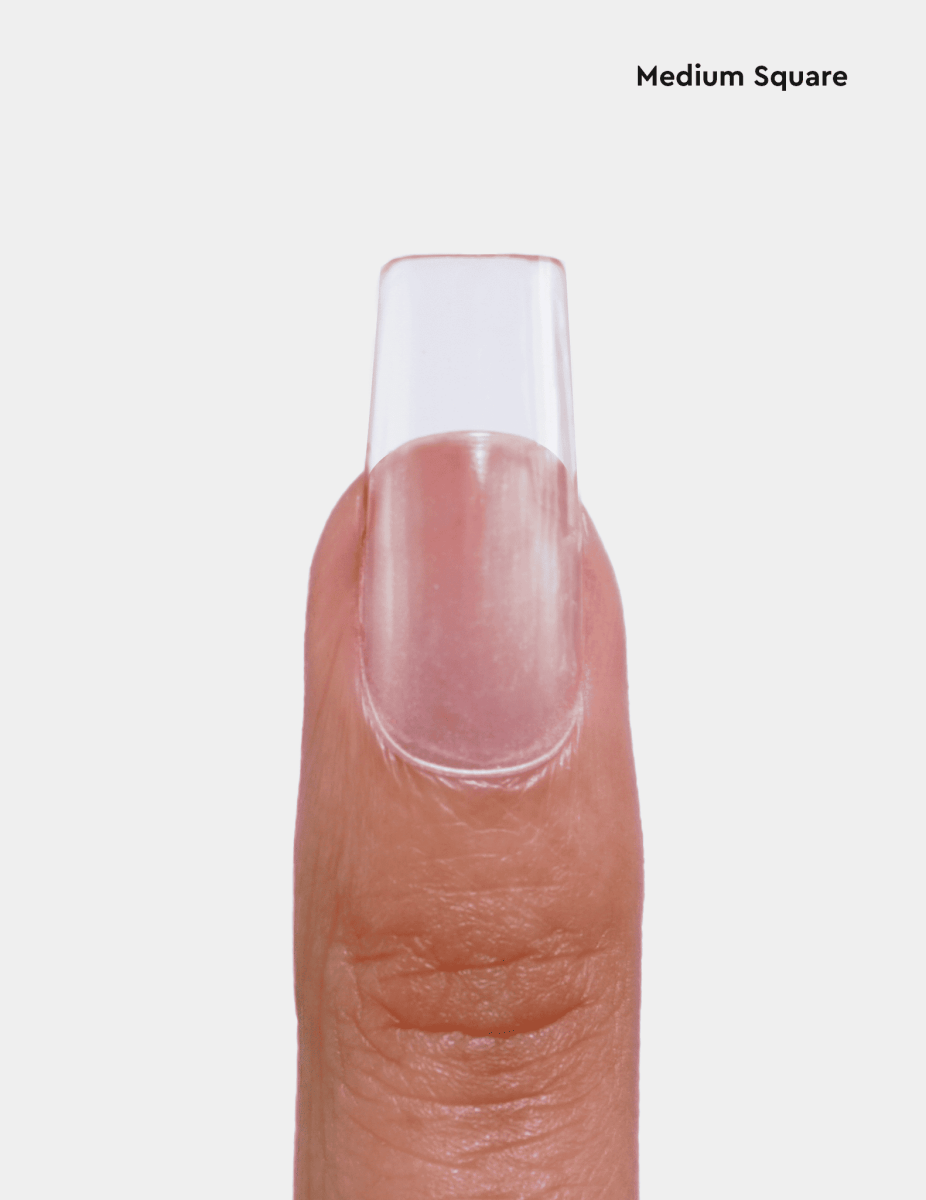
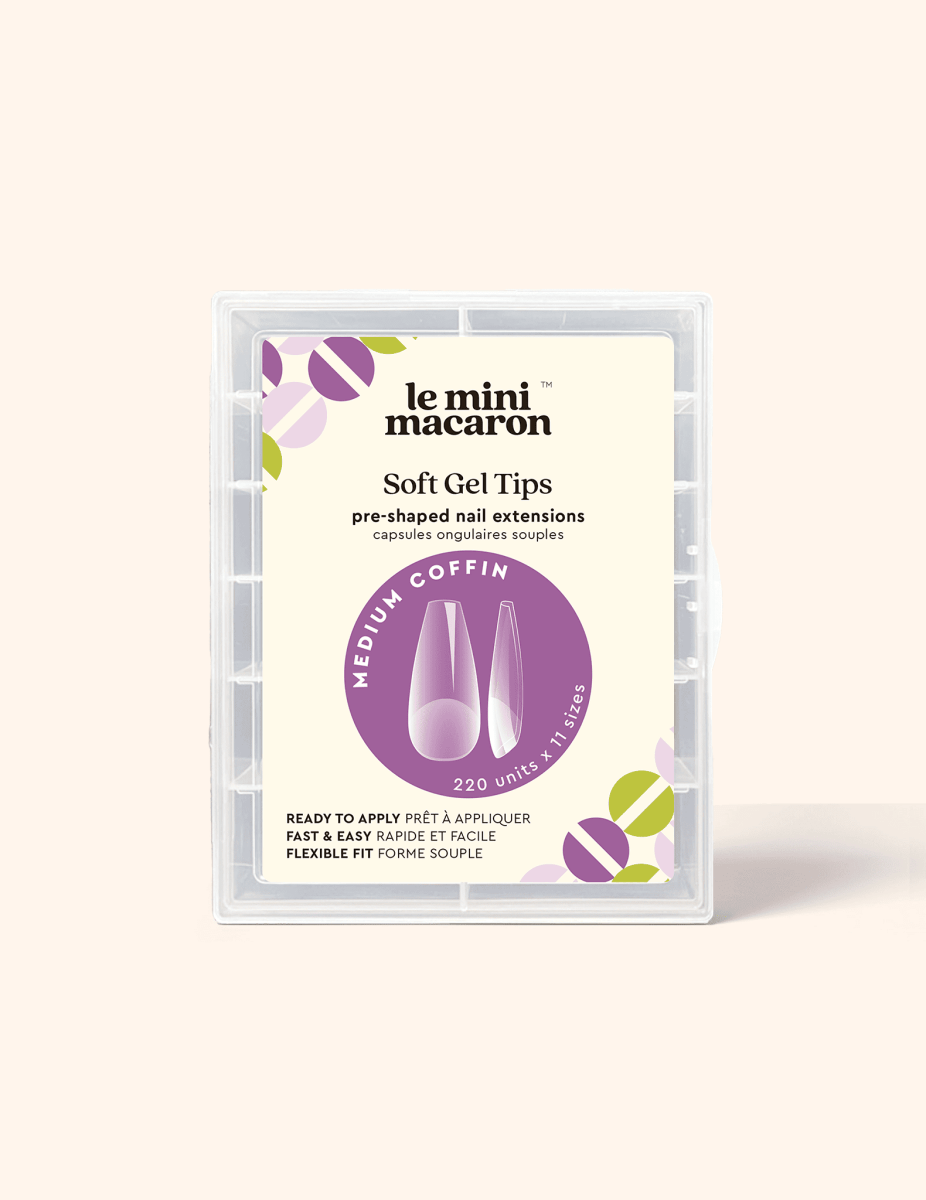
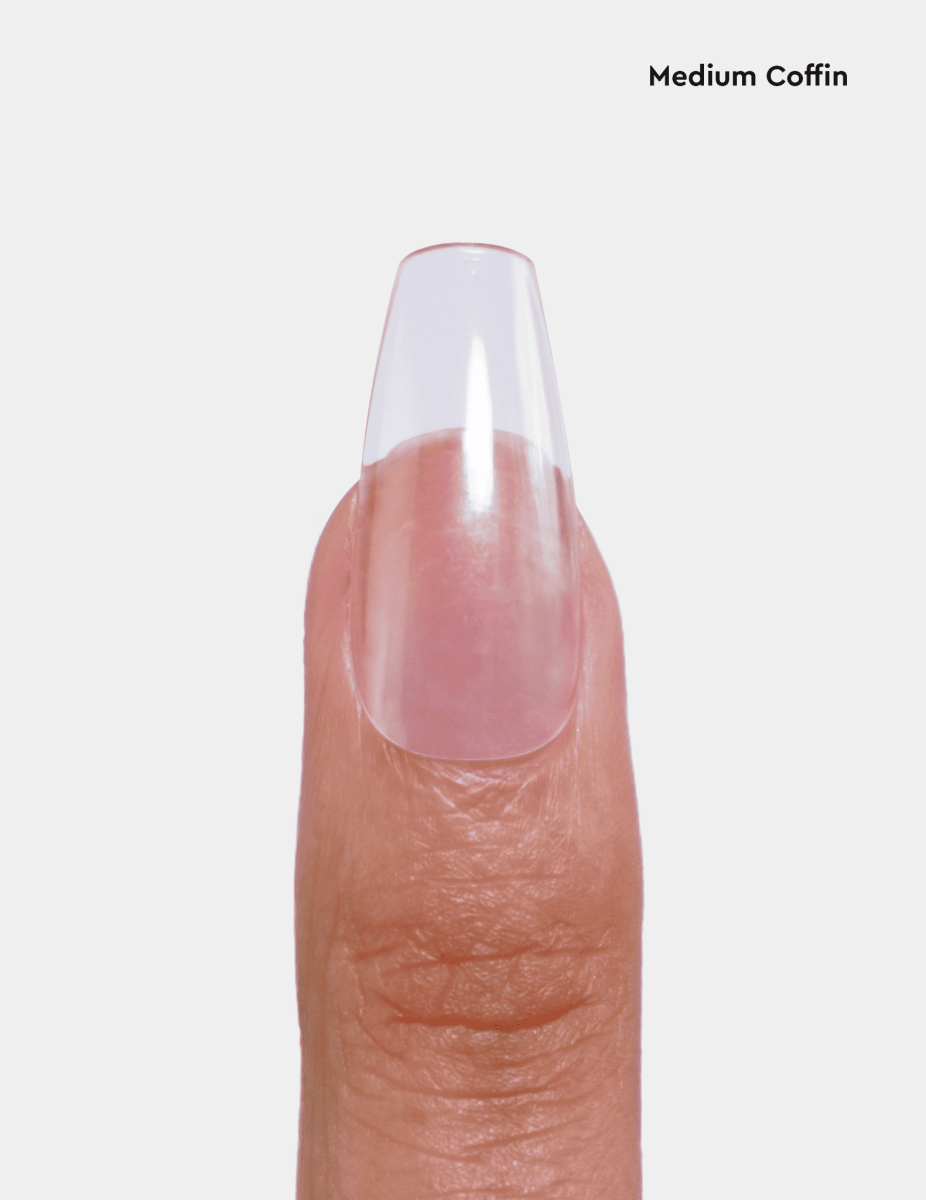
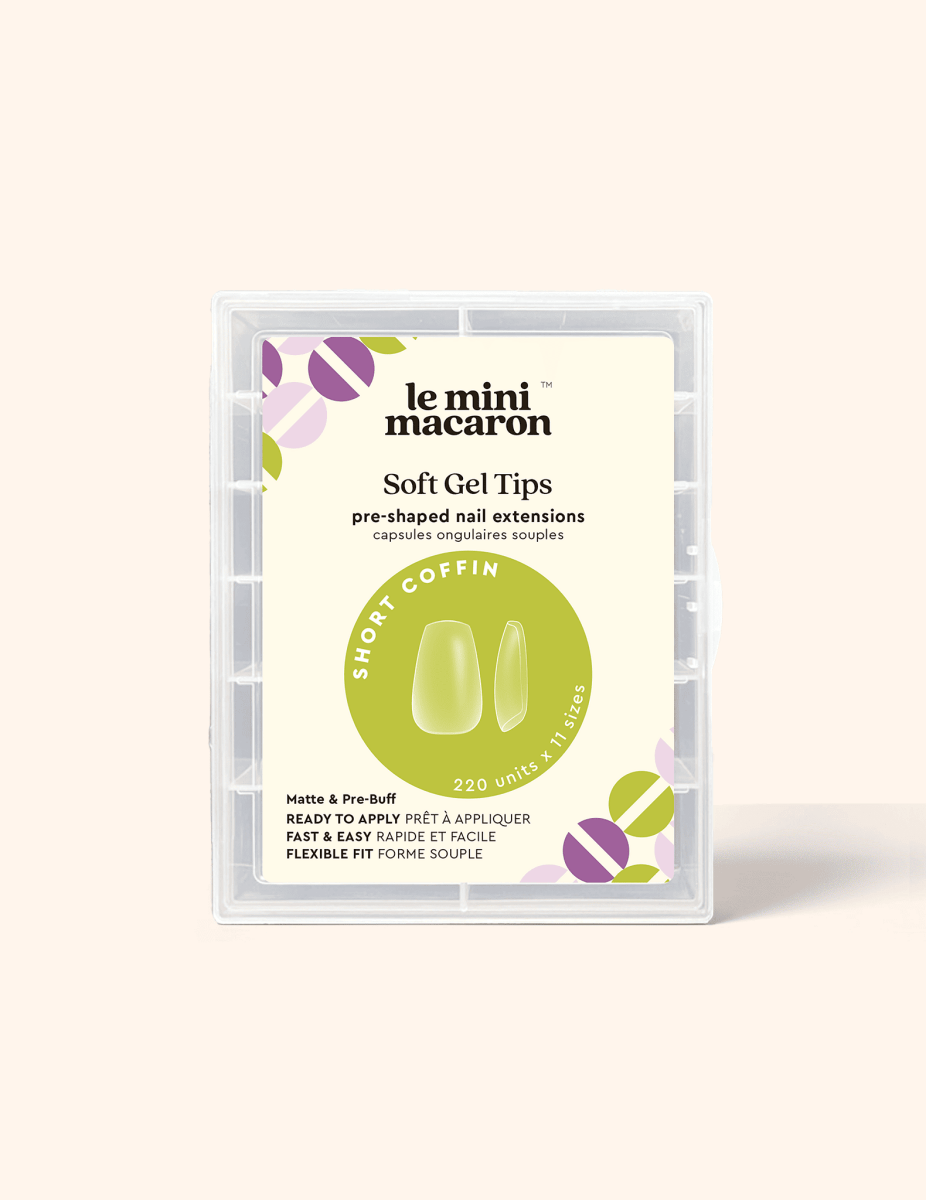
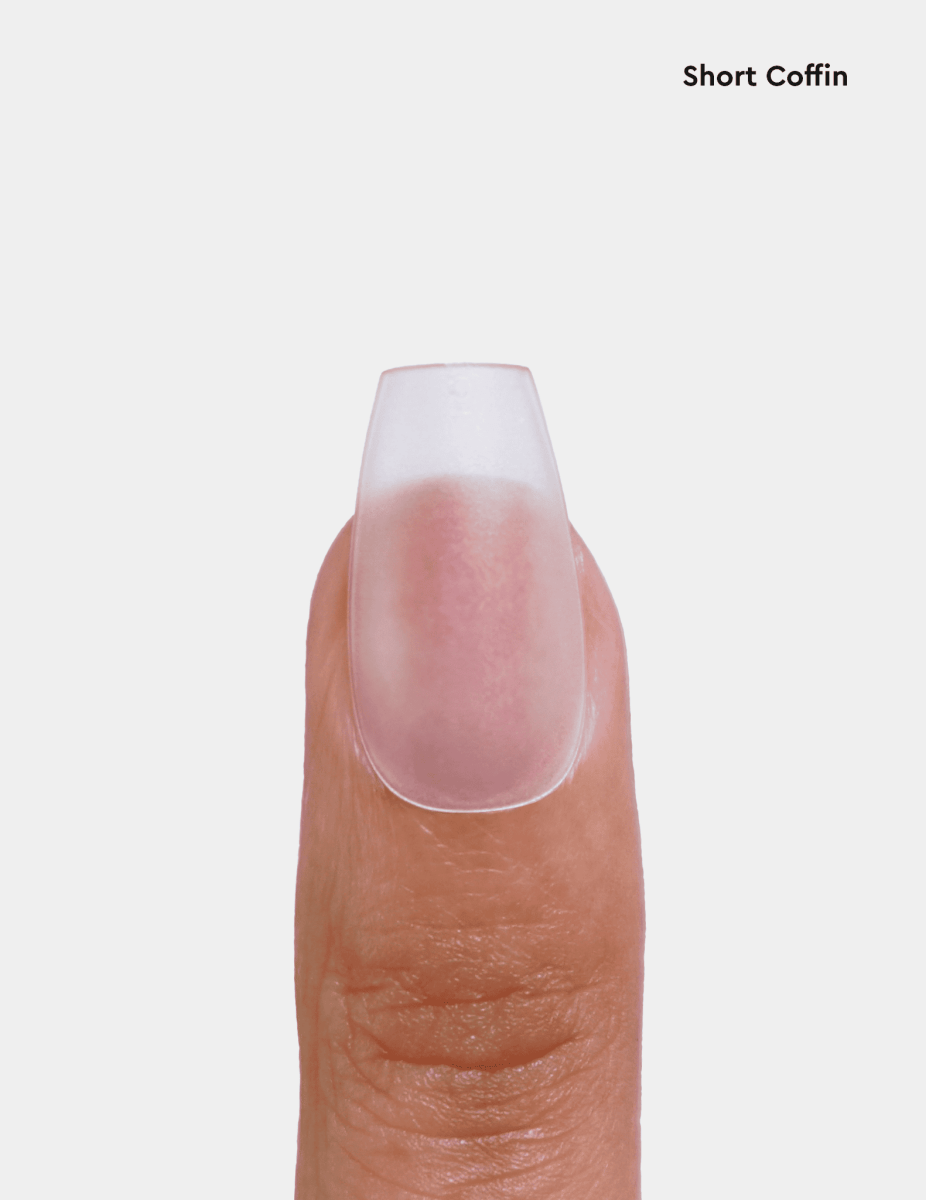
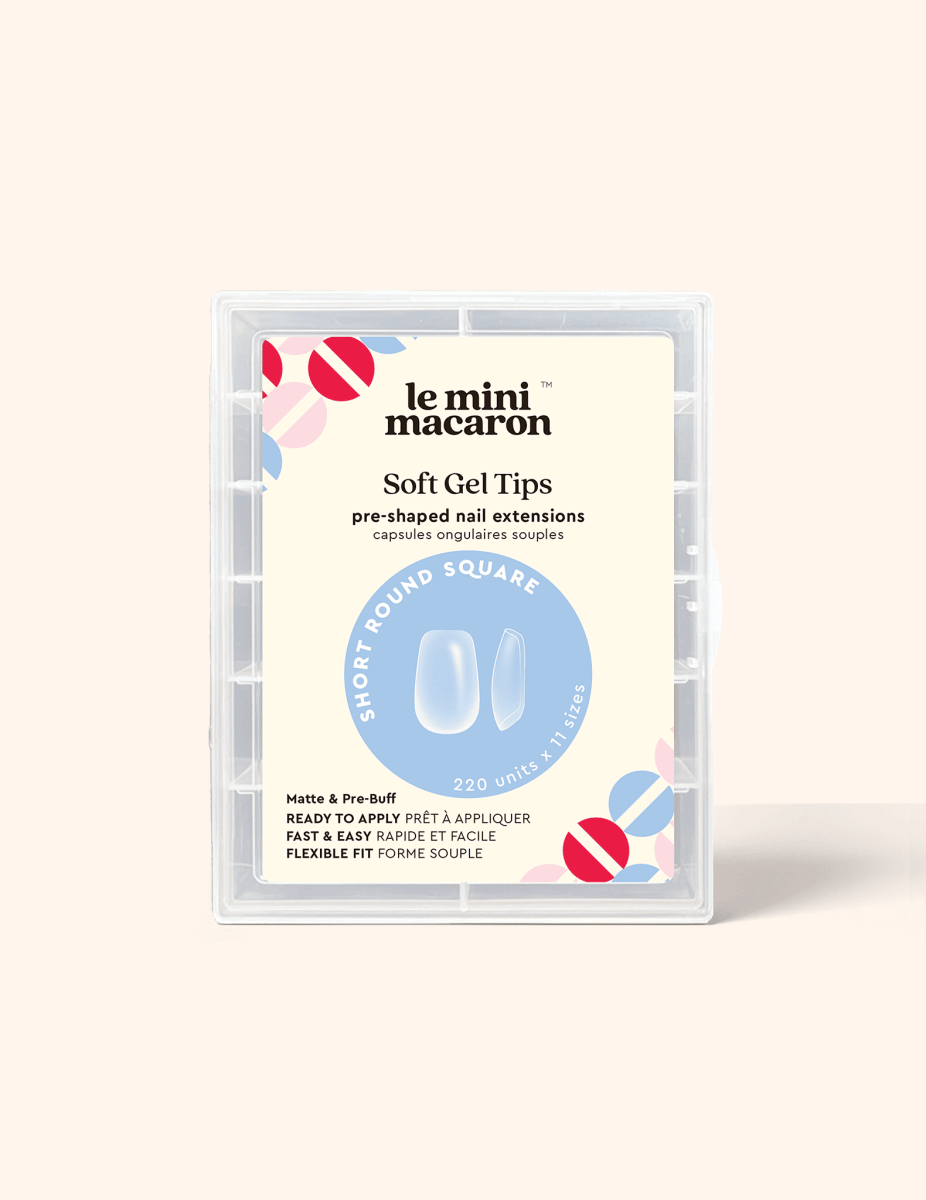
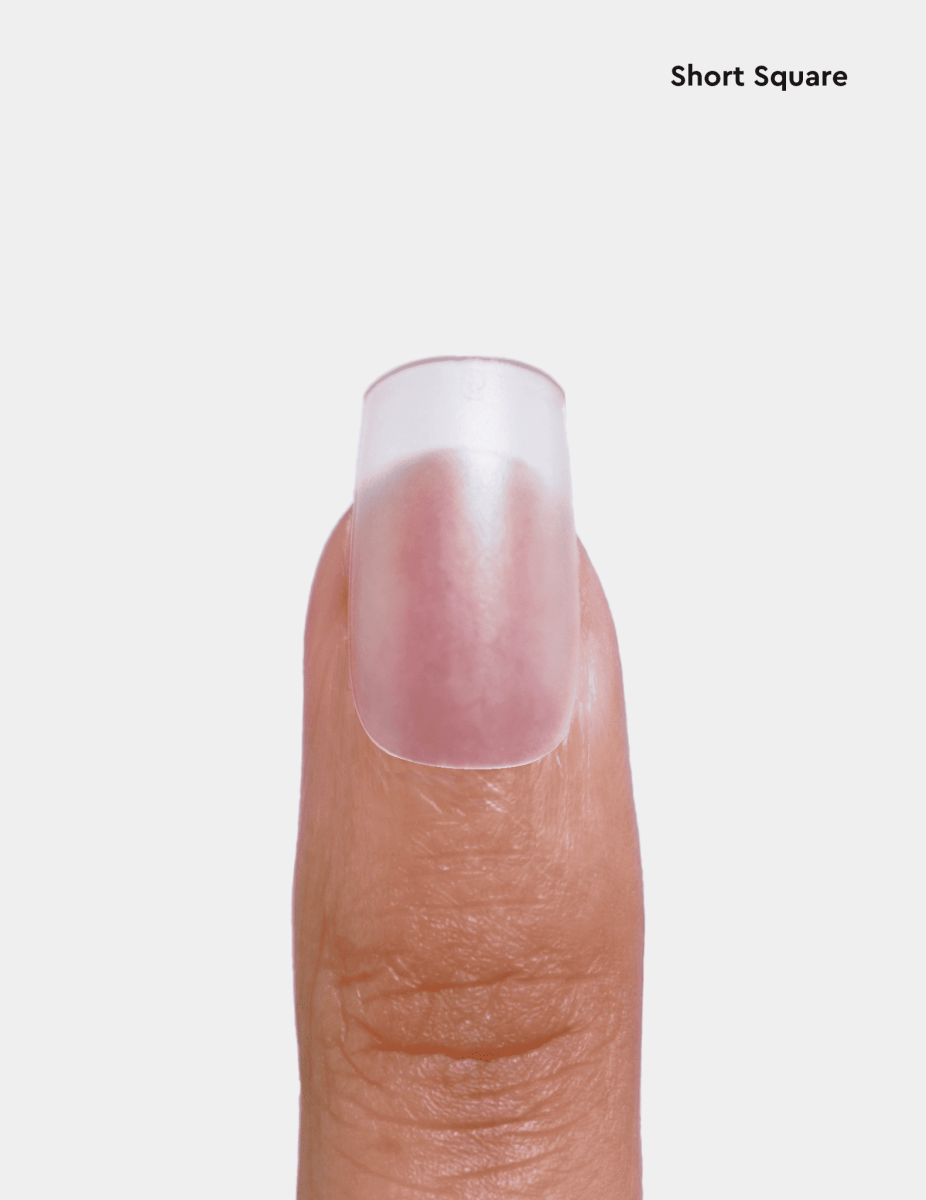
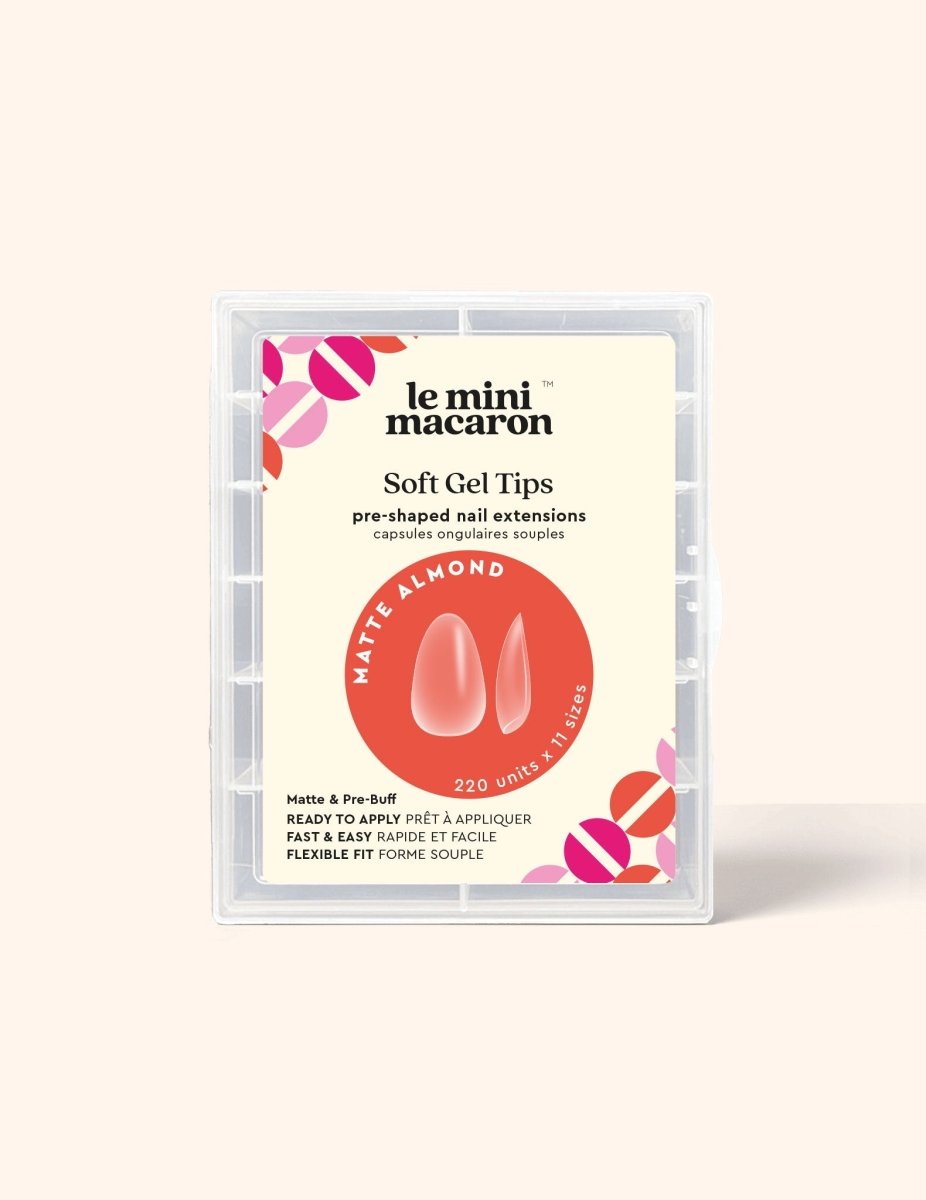
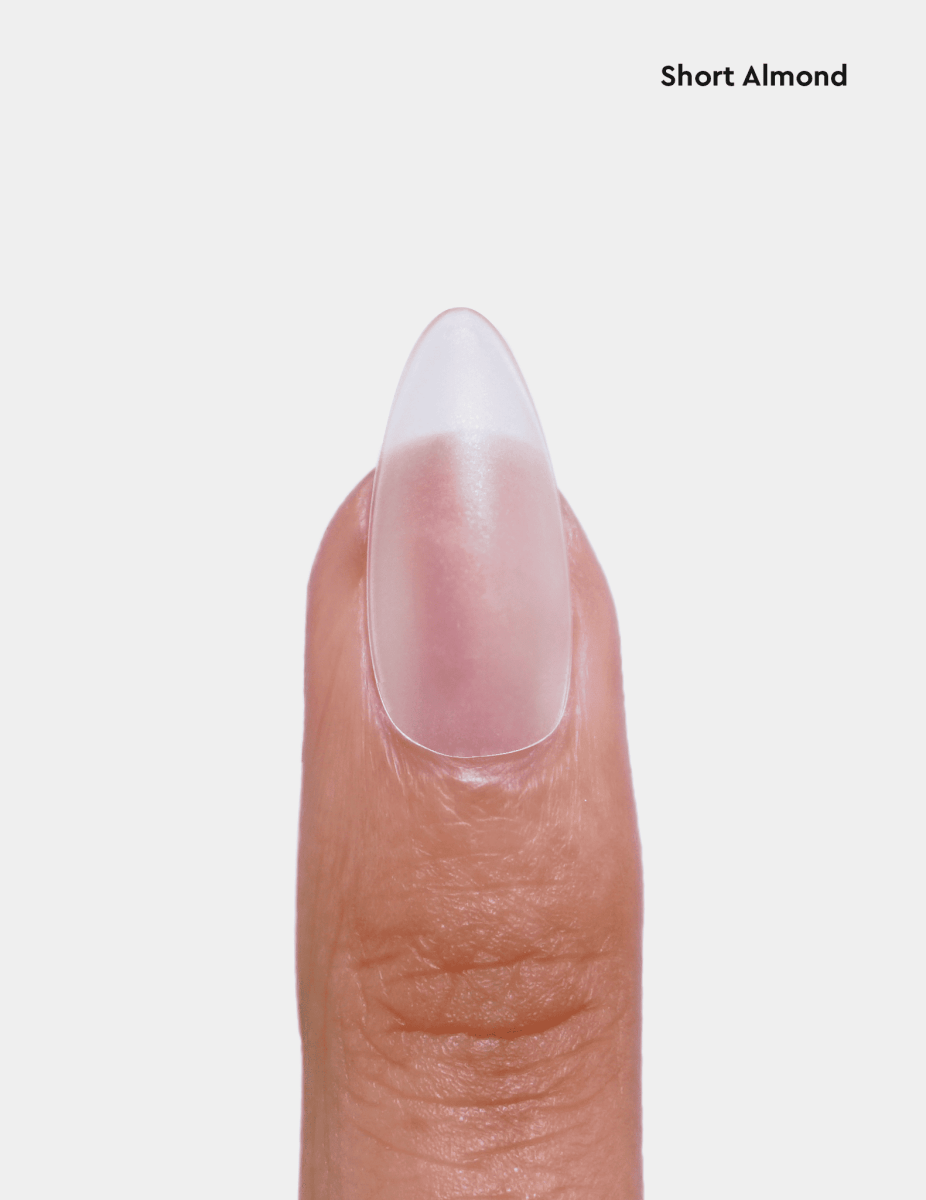
- Medium Almond - Fast & Easy / Ready to Apply / Pre-shaped Soft Tips / Flexible Fit
- 600 tips in 12 different sizes
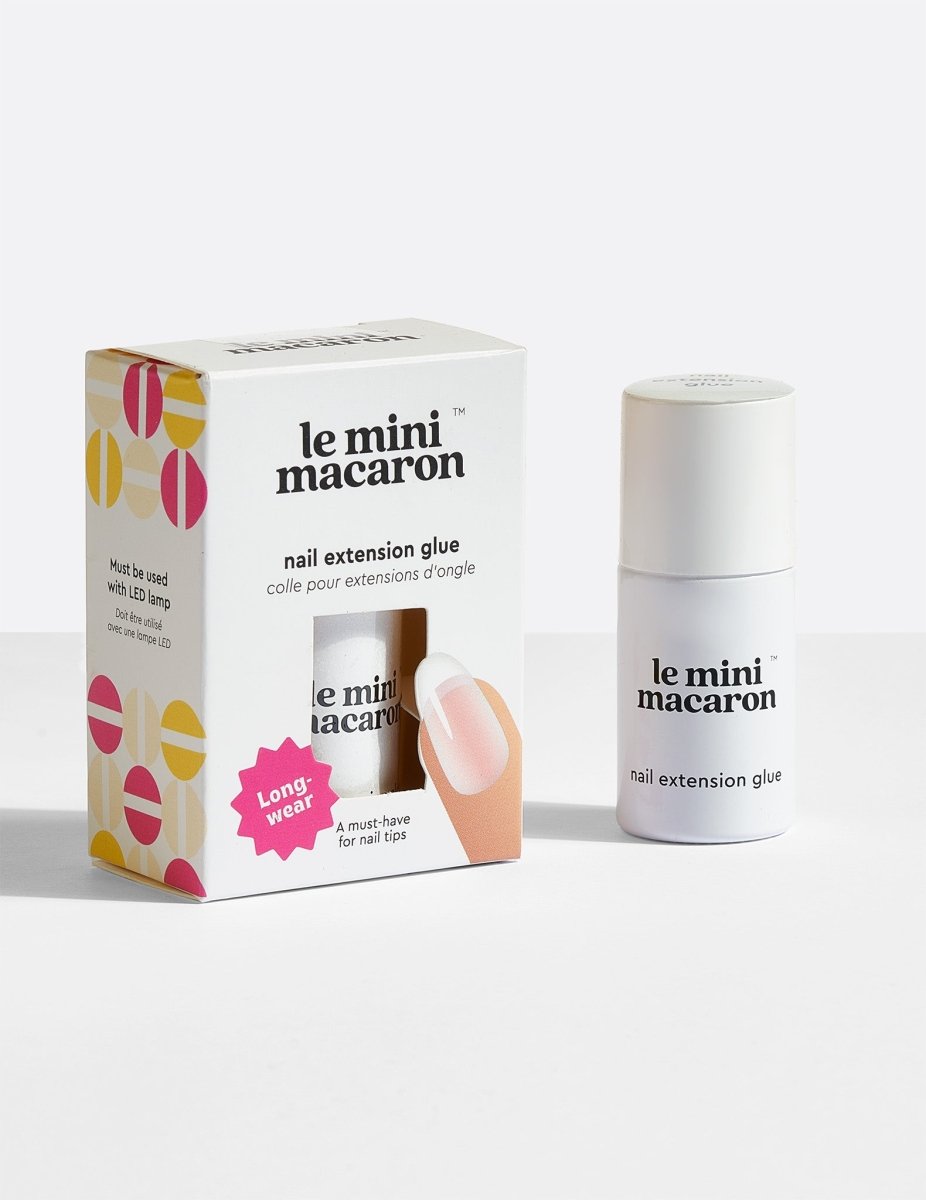
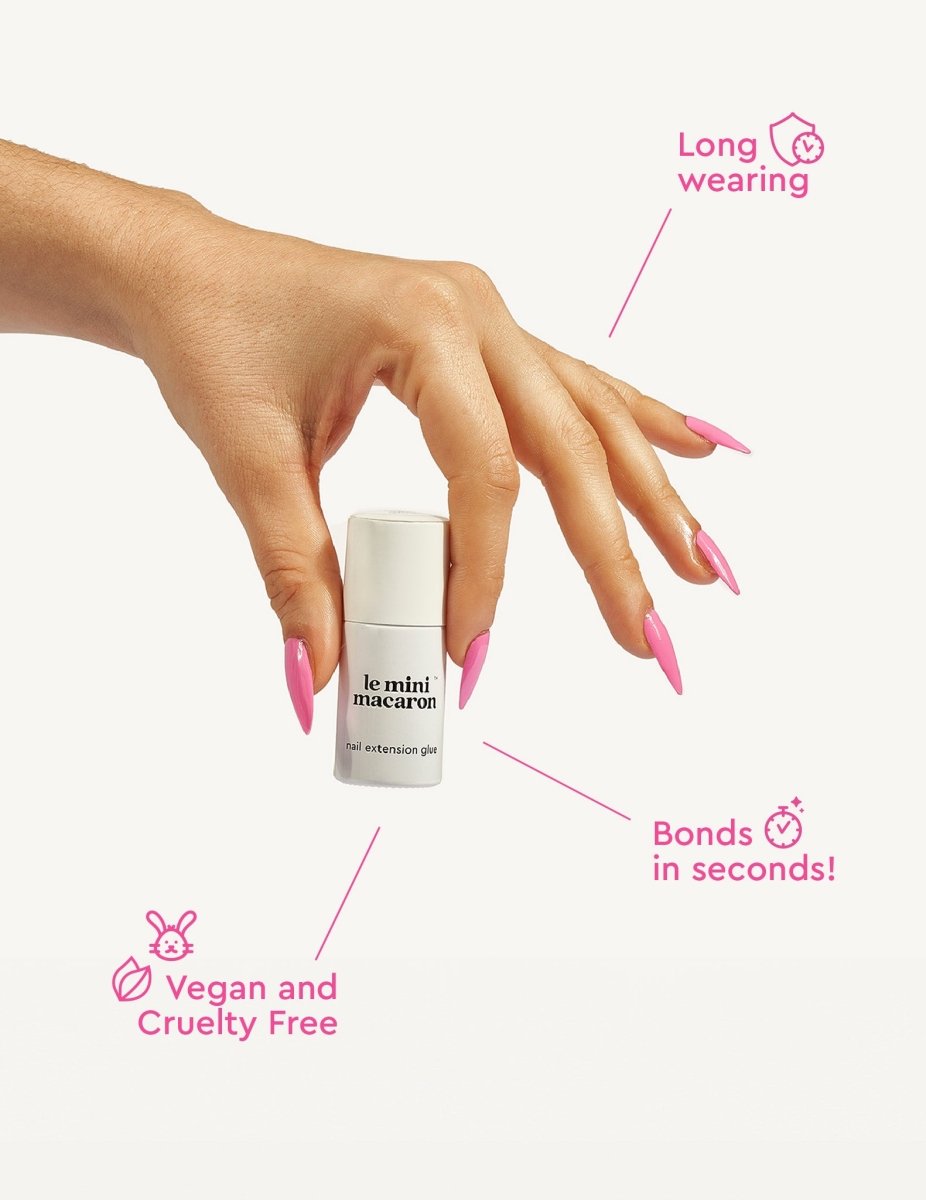
Nail Extension Glue:
- A must-have glue for gel nail extension!
- Long-wear
- Bonds in seconds!
Le Mini Lamp Extension for Gel Nail Tips: this lamp is exclusively available online and is a must-have for salon-quality gel nail tips at home.
How to
Step 1: SELECT YOUR LE GEL TIPS
Set up all of your supplies. Choose the appropriate size Le Gel Tips for each of your natural nails. Make sure it covers the entire nail without any overhang. If you are between sizes, opt for the bigger size, then file to shape your nail bed once applied. Lay out the Le Gel Tips in the order you plan to apply them for easy access during the application process. Next, adjust the mini LED lamp by flipping the top around it or remove the tray for the maxi LED lamp to create more space for flash curing.
Pro tip: Remember to check each nail as nail sizes can vary between hands.
Step 2: PREP YOUR NAILS
For best results, trim your nails as short as possible. Use a cuticle pusher to gently push back your cuticles or cut your cuticles with a cuticle trimmer. Lightly buff the surface of your nails to remove any shine and create a slightly rough texture for better adhesion. Use Nail Cleanser Prep Pads to clean the dust and oil off your nails.
Step 3: APPLY LE GEL TIPS
Apply a thin layer of nail glue on the underside matte area of Le Gel Tip. Then, apply a second, slightly thicker layer of glue to the bottom half of the nail bed. Place the nail tip on your natural nail at a 45-degree angle. Start from the cuticle and gently press the tip down against your nail until it is completely covering the natural nail.
Pro tip: Do this step slowly and ensure that there are no air bubbles trapped underneath. If you do get air bubbles, remove the tip and start the process over with a new nail tip.
Step 4: CURE THE LE GEL TIPS
Once Le Gel Tips has been secured, immediately flash cure the nail for 5 to 10 seconds with the LED lamp. Release the nail tip and cure it for the full 30 seconds under Le Mini Macaron LED lamp or 60 seconds under Le Maxi Macaron LED lamp.
Repeat this process for each nail, working one nail at a time to ensure precision and accuracy.
Pro tip: You may experience a light, burning sensation when curing. That is normal. Flash-curing the nail about 3-4 inches from the LED light will help.
Step 5: SHAPE AND FILE
After applying and curing each nail, use a nail clipper and file to trim and shape the Le Gel Tips tips to your desired length and shape. Use a coarser file like Le Zebra and take your time to achieve the perfect shape and smooth out any rough edges for a flawless finish.
Pro tip: We recommend filing and shaping the nail after application as it is easier to apply the nail when it is longer.
*For professional use only.
You are now ready to paint your nails:
- File the edge and surface of your nails. We recommend using our Nail Cleanser Prep Pads to wipe away any dust and oils on the nails.
- Apply a VERY thin (barely there) layer of gel polish. Cure the nail immediately for 30 seconds. If your nail is still sticky, cure for an additional 15-30 seconds.
- Apply a second layer of gel polish and cure again.
- For full, opaque coverage, apply a third coat as thick as the second coat.
- Voila! Your manicure is complete!
Removal:
Step 1:
Use nail clippers or manicure scissors to trim down the tips of the gel nail extensions. Use a coarse nail file like Le Zebra to break the seal of the polish on the surface of Le Gel Tips. This will allow the acetone to penetrate more effectively. Use the file to buff away as much gel polish as possible.
Step 2:
Soak a cotton ball or pad in acetone and place it directly on top of each Le Gel Tip. Wrap each fingertip with aluminum foil to hold the cotton ball or pad in place and create a barrier to lock the acetone. Or you can use our Gel Polish Remover Wraps which are pre-soaked with acetone for easy removal. Try our Remover Clips for an air-tight seal. Allow your nails to soak in the acetone for 10-15 minutes to soften the nail glue.
Step 3:
After soaking, gently press down on the foil-wrapped cotton ball or pad and twist to loosen and remove the nail tip. Use a cuticle stick or our Gel Polish Remover Tool to gently lift off any remaining residue from your natural nails. Be patient and avoid forcing or prying the Le Gel Tips off, as this can damage your natural nails.
Step 4:
Once all nails are removed, wash your hands thoroughly with soap and water to remove any remaining acetone residue. Apply cuticle oil to nourish and hydrate your nails and cuticles.
Want more? You can find more pro tips and inspo on our blog.
We recommend taking a two-week break between applications and allowing your natural nails to breathe and recover.
Shipping
Shipping Rates and Policies
All online orders are shipped within 1-2 business days of the order being received (not including weekend days). Domestic orders are shipped from the United States via DHL and take an average of 3 - 5 business days. Please note that these times do not include weekends and holidays.
Please be aware that during busy periods such as Black Friday, sales, and promotions, there may be a delay of up to 2 additional business days in shipping times. Your understanding is greatly appreciated.
We charge the following flat-rate shipping fees:
- USD $5 for the United States on orders under $55
- USD $7 for Canada on orders under $75
International Shipping
Orders are shipped from the United States via Access Worldwide for international and take an average of 10-20 business days for international shipments (although sometimes up to 40, depending on the country). Please note that these times do not include weekends and holidays.
We charge the following flat-rate shipping fees:
- USD $10 for Malaysia and Singapore on orders under $75
- USD $15 for Japan on orders under $100
From time to time, your local country’s customs may hold the shipment and request that you pay customs duties; this is rare but it can happen on occasion. All customs duties are the sole responsibility of the customer and we are not liable.
Shipping Restrictions
We ship to military addresses, like FPO (Fleet Post Office) and APO (Army Post Office), and outside the continental United States (Alaska, Hawaii, Puerto Rico, and Guam).
Please note the following:
- Shipping time may take around 21 business days or more.
- Once the package leaves the continental US, we cannot guarantee final delivery. The buyer takes responsibility for the package.
- We prefer to ship to non-military addresses or addresses within the 48 continental United States as we can guarantee delivery. If you would like delivery to the above or international addresses, we can certainly do so but please understand that the arrival of the package will be the buyer’s responsibility.
Tracking Information
Once your order ships, you will receive an email from us with your tracking number. Please note that all US shipments can be tracked via DHL, and international shipments may be tracked via Access Worldwide or DHL, depending on your country. If you have trouble tracking your package, feel free to email us with your order number, and we can check its status for you.Shipping
Shipping Rates and Policies
All online orders are shipped within 1-2 business days of the order being received (not including weekend days). Domestic orders are shipped from the United States via DHL and take an average of 3 - 5 business days. Please note that these times do not include weekends and holidays.
Please be aware that during busy periods such as Black Friday, sales, and promotions, there may be a delay of up to 2 additional business days in shipping times. Your understanding is greatly appreciated.
We charge the following flat-rate shipping fees:
- USD $5 for the United States on orders under $55
- USD $7 for Canada on orders under $75
International Shipping
Orders are shipped from the United States via Access Worldwide for international and take an average of 10-20 business days for international shipments (although sometimes up to 40, depending on the country). Please note that these times do not include weekends and holidays.
We charge the following flat-rate shipping fees:
- USD $10 for Malaysia and Singapore on orders under $75
- USD $15 for Japan on orders under $100
From time to time, your local country’s customs may hold the shipment and request that you pay customs duties; this is rare but it can happen on occasion. All customs duties are the sole responsibility of the customer and we are not liable.
Shipping Restrictions
We ship to military addresses, like FPO (Fleet Post Office) and APO (Army Post Office), and outside the continental United States (Alaska, Hawaii, Puerto Rico, and Guam).
Please note the following:
- Shipping time may take around 21 business days or more.
- Once the package leaves the continental US, we cannot guarantee final delivery. The buyer takes responsibility for the package.
- We prefer to ship to non-military addresses or addresses within the 48 continental United States as we can guarantee delivery. If you would like delivery to the above or international addresses, we can certainly do so but please understand that the arrival of the package will be the buyer’s responsibility.